
Lately, one of my favorite pieces to make is a toggle bracelet. What I like about them is that they are so simple, yet they can turn into the most beautiful pieces. And, like many of the crafts that I show you how to make, there are so many ways to make it. So, if you’re looking for a fun craft to keep you occupied during the winter season, here’s how to make it.
What You Need:
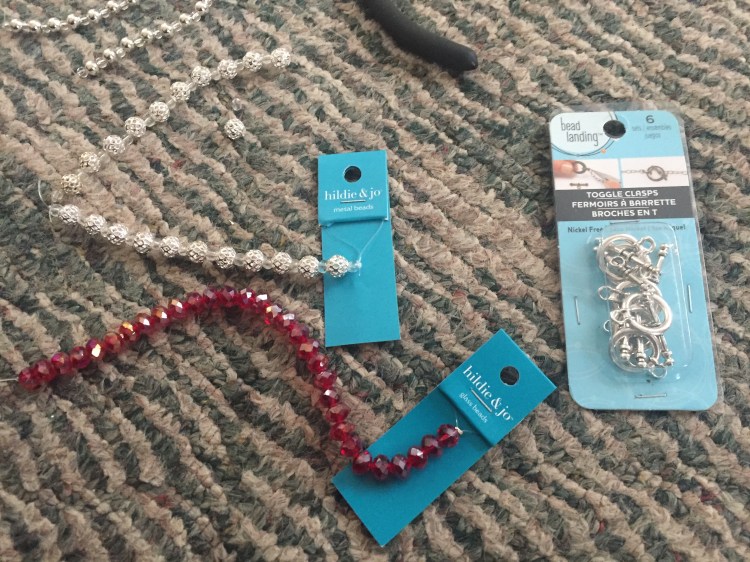
- Beads of your choice
- String — my personal favorite is Tiger Tail.
- Toggle Clasp of your choice
- Crimp Beads
- Crimp tool
What You Need To Do:
- Measure the string to the length that you would like. Give yourself about an extra two inches, and cut.
- Grab a crimp bead and a crimp tool. String the crimp bead through the string, then string the loop of the circular part of the toggle bracelet and then loop it through the crimp bead.
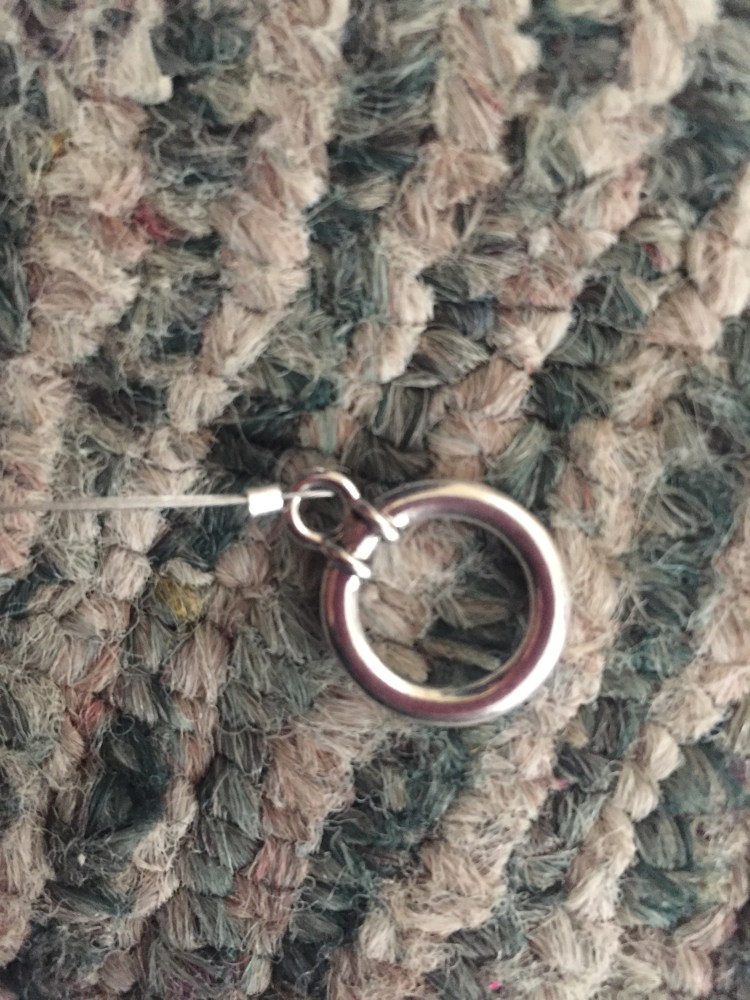
- Crimp it until flat.
- Begin stringing beads in desired pattern.
- Once the bracelet is to the desired length, string another crimp bead on. Do the same with step two with the other end of the clasp.

- Cut longer ends. Now you’re done!
